
Sydney Krantz
MCA 490: Noir on a Budget
Noir is a style of film (and photography) characterized by high contrast imagery with a lot of shadow and strategic lighting at play to convey dramatic, cynical, and often dark storylines. Film noire is usually synonymous with detective movies like John Huston’s Maltese Falcon (1941), but elements of the style can be found in classic films like Casablanca (1942) and The Godfather series (1972- 1990).
Each semester, the students of Prof. Guarneri’s MCA 490 (Lighting: The Craft of Cinema) course learn how to properly light a variety of different scenes through the production of their own short film. Two years ago the MCA 490 class debuted their short film, Trunk (2018), at the 2018 MCVA Student Showcase, and the poster can still be found on display in Willcox. Last year’s class (one that I am proud to be a part of) is currently produced Find Me, a modern take on the classic film noir detective genre, written by Guarneri himself.
Pre-Production
The concept of a film noir was Guarneri’s idea. With the MCA 490 class releasing a new short every year, it is important that each one has a distinct look, and it doesn’t get much more distinct than film noir. Film noir, especially when under-saturated or devoid of color completely, is also a great introduction into dramatic lighting for students with little experience.
A couple weeks into the class, we all sat around a whiteboard in W36 for a House-M.D.-style brainstorming session (minus all condescending jokes). It was decided that the film would take place in present time and follow two detectives on a murder case. We chose to take the dramatic route over the feel-good-buddy-cop one. Though the project is really meant as a case study in set lighting, we wanted our story to be unique.
I don’t want to give too much away, but what really makes the plot stand out is how it blends classic noir style with heavy influence from the digital age. The incorporation of tech, cell phones, and social media is one way to breathe new life into what some young people might regard as a “played out” genre.
The brainstorming session lasted one whole 3-hour class, and Prof. Guarneri was able to transform our whiteboard scribblings into a complete script by the next time our class met.
Production
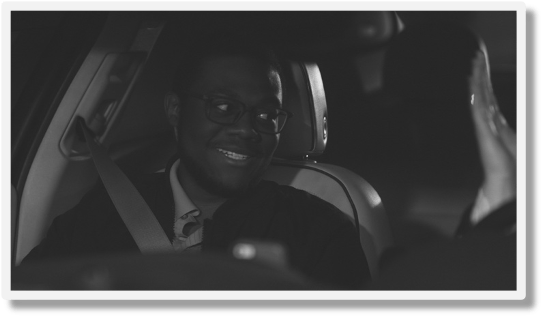
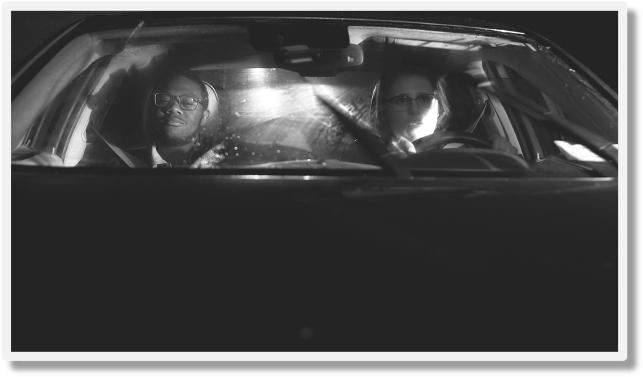
The Car Scene
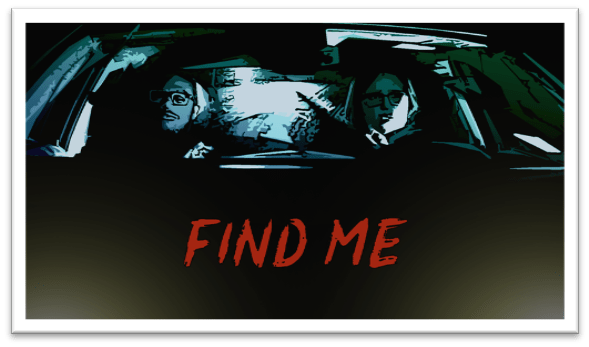
With a script in hand, we began production. The first scene on our checklist was of the detectives inside their car, on the way to apprehend a suspect. So how did we do it? I’m glad you asked.
Here you can see what has been dubbed the “poor man’s process” at work. This scene in particular is a great example of how pertinent lighting and lighting techniques are to film, especially on a budget.
Reality is, not everything you write can be replicated, but you can manipulate light and space in such a way to make it appear so. Lighting, focal length, and frame size all play massive roles in creating this sort of illusion.
As you can see from the clip, that car is absolutely not going anywhere. Instead, the car stays in the park at an angle where we can clearly capture our protagonists every move, and students swing lights mounted to Hollywood arms on either side to give the allusion of passing cars in the distance. One stays uncovered, and the other has a red gel to mimic taillights. The lights themselves stay out of frame to keep the illusion alive. Several yards away, two more lights are mounted to a c-stand on top of a dolly. Two students slowly sway the dolly back and forth to mimic the motion of another car on the road. The camera’s aperture is set to focus on our protagonists and blur the background, making for a perfect 1920 x 1080 slice of life.
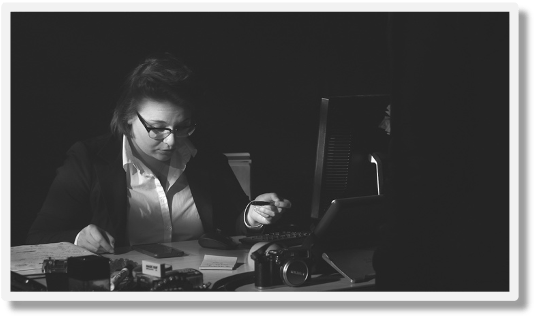
The Office Scene
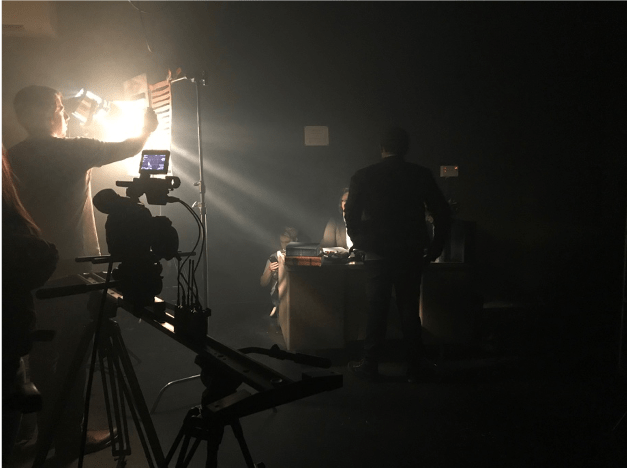
For this scene, we really wanted to replicate the famous film noir look of harsh light shining through Venetian blinds, and dispersing itself across the set. As I’m sure you can guess by now, no actual windows blinds were harmed in the making of this production.
Stage lighting accessories like barn doors, flags, and reflectors are often used to limit, disperse, or direct light on set. While flags and barn doors were put to use in directing and limiting light sources, the Venetian blind effect took a little innovation.
I’m sure templates and accessories for achieving this sort of effect already exist, but we were able to achieve the look with just some scrap cardboard clamped to c-stands for the low, low price of $0 plus about $40,000 tuition each! What a steal!!! Myself and a few other students simply cut the desired shapes out of our scrap cardboard, and it was as simple as that.
That part was fairly easy. The bulk of our class time was actually spent dressing an empty desk to look like the workstation of a busy detective and getting light and camera placement just right to again, create the perfect 1920 x 1080 vignette. The key to the effect, however, was the controlled use of a haze or fog machine so that the light has something to bounce off of and disperse. One student kindly volunteered his own for the production.
Post-Production

As of this post’s publication, we are still in the production stage. The scenes that still have to be filmed include one of the detectives apprehending a suspect from his home and an interrogation scene. For the scene in the suspect’s home, we will be utilizing a newer piece of lighting equipment that the department acquired. It is a flexible LED panel that can be mounted and continuously adjusted to mimic light coming from a television or computer monitor amongst any number of other potential uses. The interrogation scene will pay homage to traditional film noir interrogation scenes with a single bright light shone on the suspect in an otherwise dark and hazy room.
As we move into post-production, the class will have to decide whether the footage looks better in black and white, or with some degree of color saturation. If we use the footage as-is, it will have to be color-graded to accurately reflect the color and lighting choices. If we keep it black and white, the primary focus would be on adjusting the highlights, shadows, and mid-tones. We are currently leaning towards black and white as the absence of color puts more emphasis on the high contrast lighting techniques that were used.
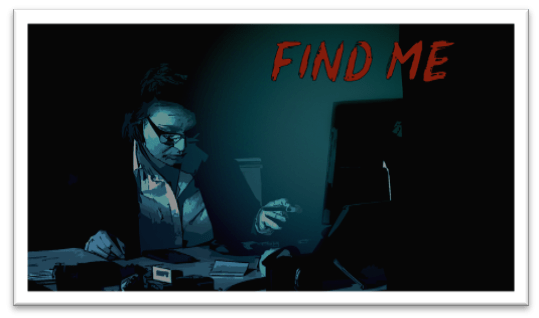
A few students in the course are also currently enrolled in Prof. LaRosa’s Digital Editing Workshop Pt. II and may use for their final projects. If this is the case, we may actually end up with a few different versions to choose from. The screenshots featured at the top of this post actually inspired me to start exploring some different effects that could be applied.
It has become a tradition to pick photos or screenshots from each year’s short film to be displayed on the official movie poster. Past posters can be found hanging around the MCVA department.
With Photoshop, I was able to apply a comic-book-like cartoon style to the high-contrast black and white images. While it’s possible to apply the same effects in After Effects to stylize the entire film that way, it would take an immense amount of time and rendering. Unless we decide to use the comic book style for the movie poster, it will more than likely remain a personal project.

For more updates, keep checking the MCVA Blog, follow Pace MCVA on social media, and watch the full Find Me on the Pace MCVA YouTube channel.